


 Shop All Packaging
 Glass Containers
 Plastic Containers
 Metal Containers
 Cardboard Containers
 Bulk Containers
 Industrial Containers
 Caps / Closures
 Shrink Bands
 Design Custom Labels
 Subscribe & Save Orders
 Shop By Industry
 Custom Packaging
 Pallet Qty Packaging
 SKS Direct Wholesale
 Packaging Equipment
 Help/Info
 New Products
 Promotions
 Newsletters
 Product Specials
 Combo Kit Deals
 Product Closeouts
 Recently Back In Stock








How to Label a Curved Bottle Without Wrinkles or Bubbles
A Simple Technique for Clean, Bubble-Free Application on Round Containers
A label that goes on crooked, wrinkled, or full of trapped air bubbles is one of the most common small-batch packaging frustrations, and it almost always comes down to technique rather than the label itself. This guide covers how to label a curved bottle without wrinkles or bubbles, using a simple starting-point and rolling method that works on most round containers. Use our custom label form to design and order labels sized for your exact bottle.
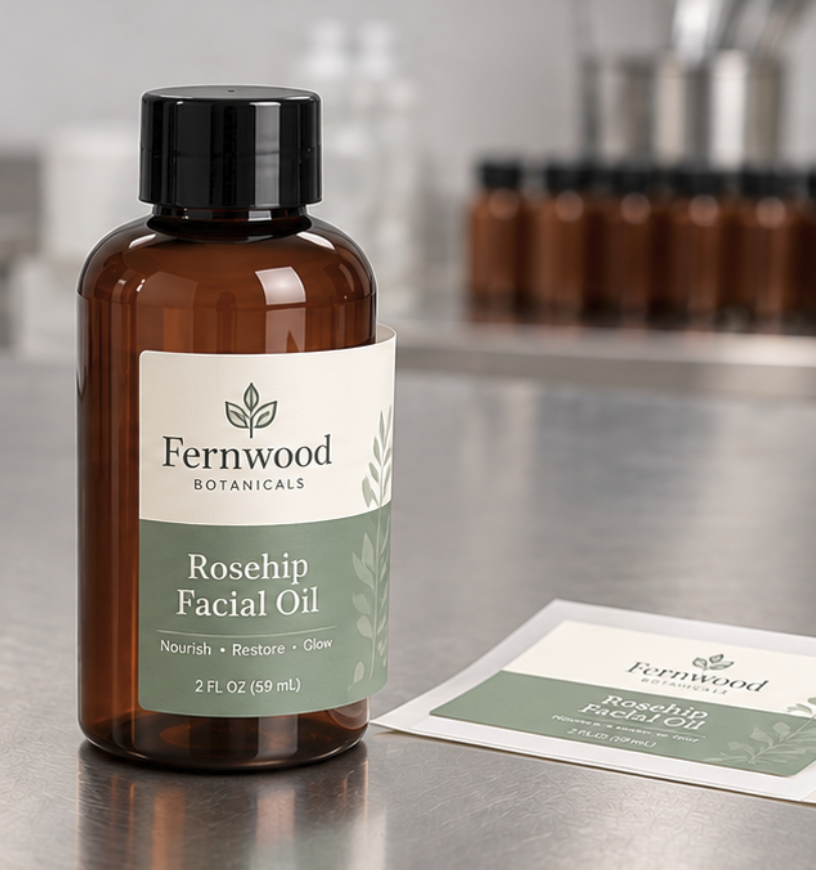
- Make sure the bottle or jar surface is completely clean and dry - Any dust, moisture, or residual oil on the container will prevent a label's adhesive from bonding evenly, which is one of the most common causes of bubbling and lifting edges later. Wipe the bottle or jar down and let its surface dry fully before starting.
- Peel back only a small section of the label's backing to start - Rather than removing the entire backing sheet at once, peel back just an inch or so from one edge, exposing only a small strip of adhesive. This gives you room to correct the label's position before it's fully committed to the bottle.
- Align the exposed edge and press it down firmly first - Position the label's starting edge exactly where you want it - typically aligned with a seam line or a fixed reference point on the bottle - and press that section down firmly before moving on. This anchor point determines whether the rest of the label wraps straight or drifts off at an angle. Evenly aligned labels are one of the most important factors in how professional a finished product looks on a shelf, since even a small crooked angle or a visible seam is one of the first things a customer's eye catches.
- Roll the bottle slowly while smoothing the label with your other hand - With the starting edge anchored, slowly roll the bottle along a flat surface or rotate it in your hand while simultaneously peeling the remaining backing away and smoothing the label onto the curve with your fingers or a small squeegee. Moving both hands in sync - one rolling, one smoothing - is what prevents bubbles from forming ahead of the label as it wraps.
- Smooth outward from the center of the label toward both edges - If a small air bubble does form, smooth it outward toward the nearest edge of the label rather than pressing straight down on top of it, which usually just moves the trapped air to a new spot rather than releasing it.
- Press the final overlapping edge down firmly to finish - Once the label has wrapped fully around, press the trailing edge down firmly against the bottle - and against the label's own starting edge, if the design overlaps - to seal the seam cleanly and prevent it from lifting later.
Related Containers & Closures You May Like
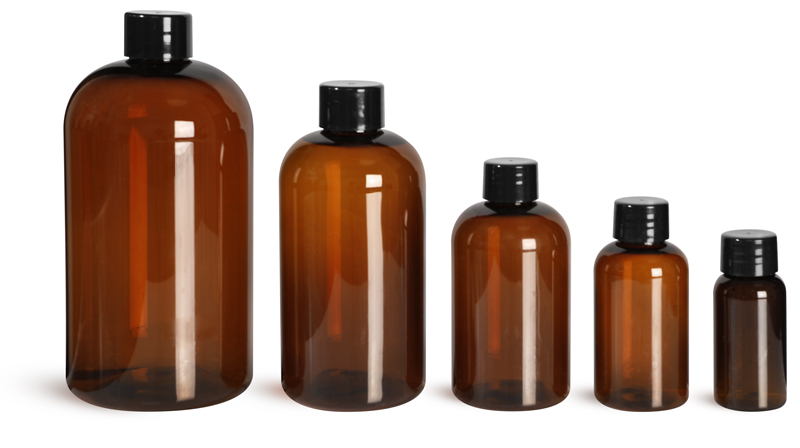 Plastic Bottles, Amber PET Boston Round Bottles w/ Smooth Black Plastic Lined Caps
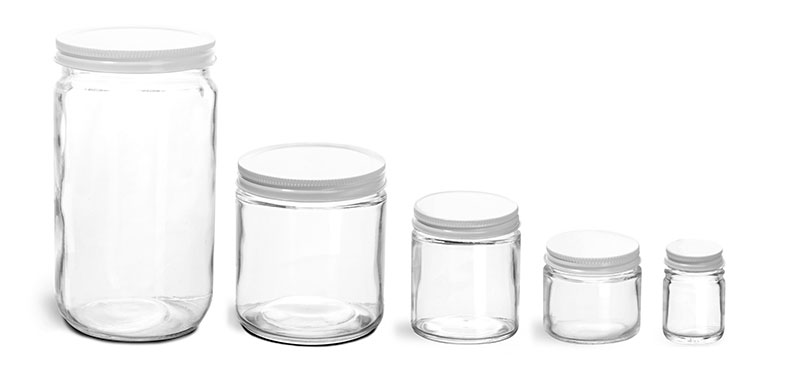 Clear Glass Jars, Clear Straight Sided Glass Jars w/ White Metal Plastisol Lined Caps
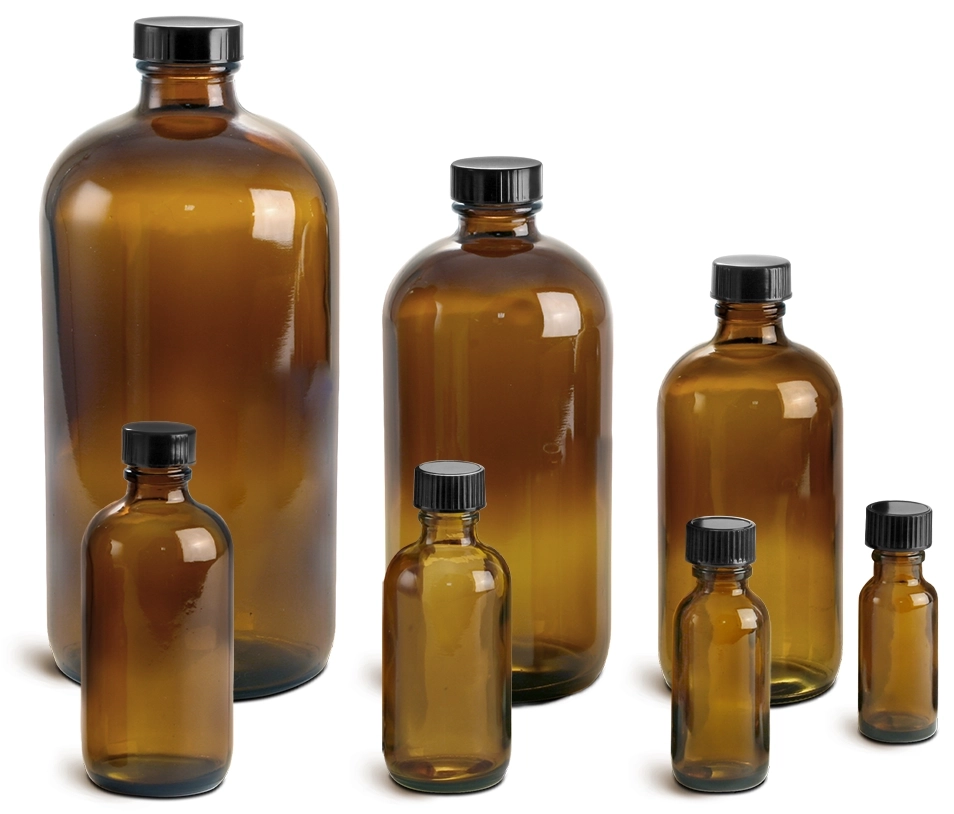 Amber Glass Bottles, Boston Round Bottles w/ Black Cone Lined Caps
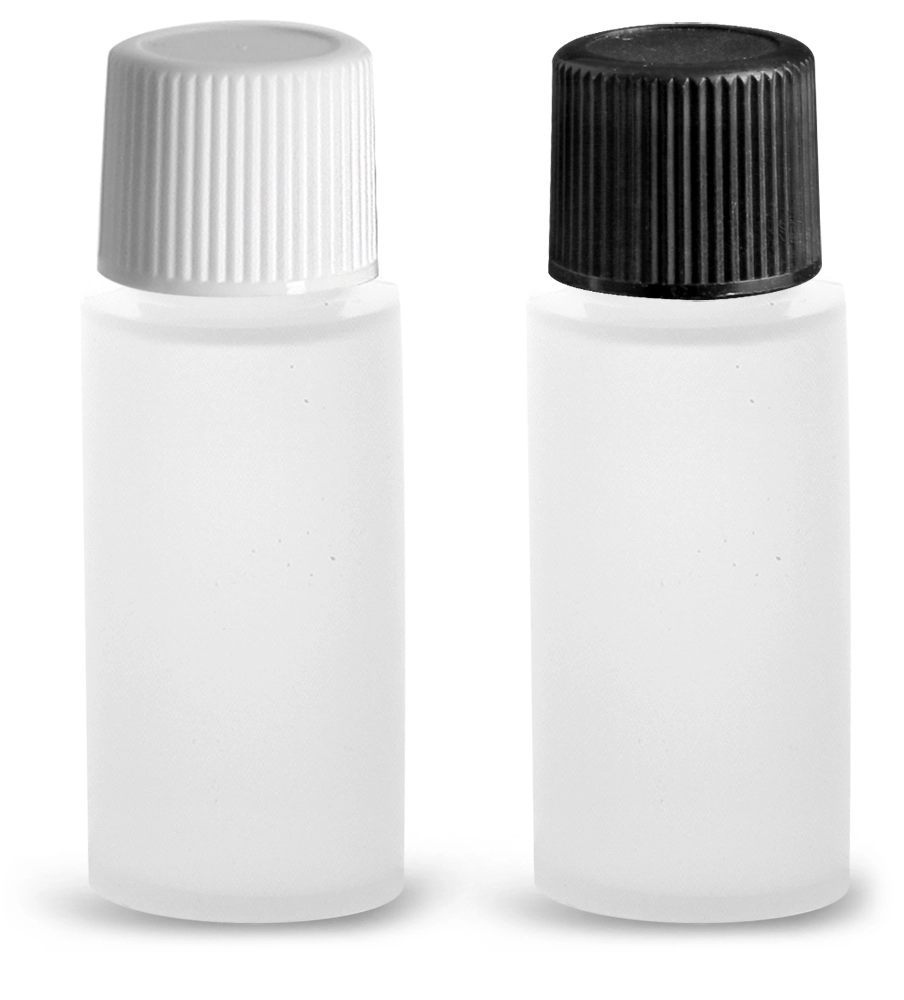 LDPE Plastic Bottles, Natural Cylinder Bottles w/ Screw Caps
 Clear Glass Jars, Clear Straight Sided Glass Jars w/ Black Metal Plastisol Lined Lug Caps
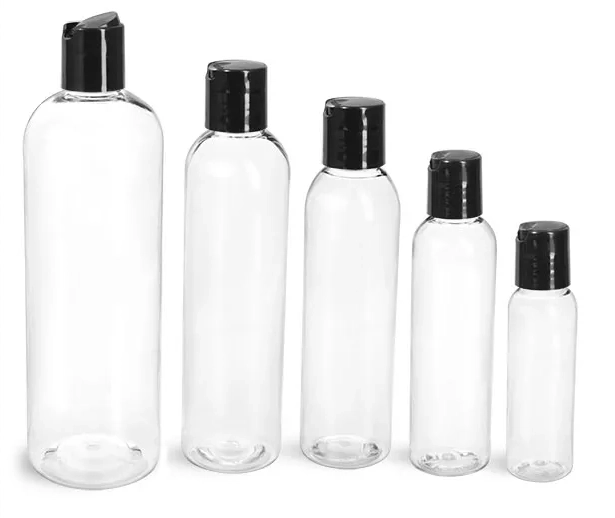 PET Plastic Bottles, Clear Cosmo Round Bottles w/ Smooth Black Disc Top Caps
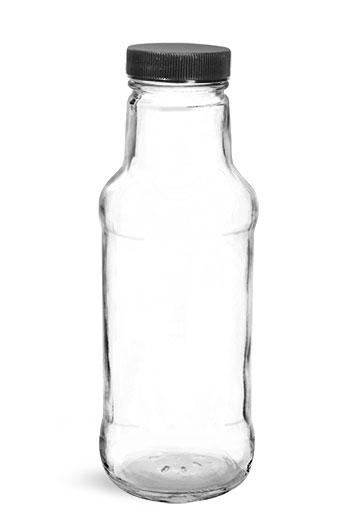 Glass Bottles, Clear Glass Beverage Bottles w/ Black Ribbed PE Lined Caps
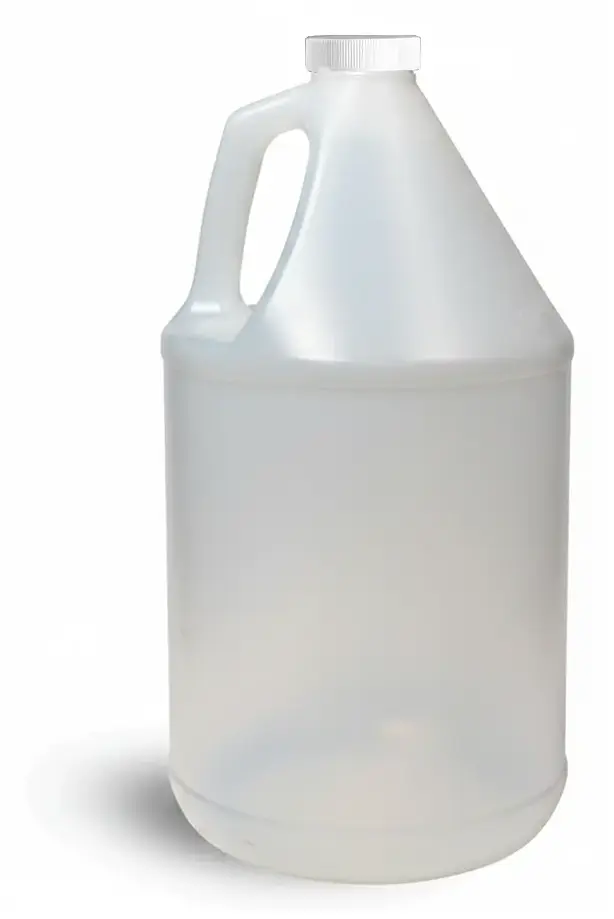 HDPE Plastic Jugs, Natural Jugs w/ White Ribbed PE Lined Caps
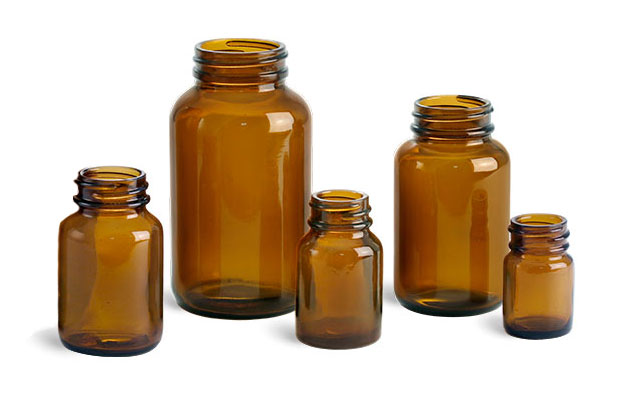 Amber Glass Pharmaceutical Round Bottles (Bulk), Caps NOT Included
How to Label a Curved Bottle Without Wrinkles or Bubbles FAQ
The key to labeling a curved bottle without wrinkles or bubbles is anchoring the starting edge firmly, then rolling and smoothing in one continuous motion rather than pressing the whole label down at once.
Why Do Bubbles Keep Forming Under My Labels?
Bubbles usually come from pressing a label down all at once rather than smoothing it on gradually while rolling the bottle, or from a bottle surface that wasn't fully clean and dry beforehand.
Should I Remove the Entire Backing Sheet Before Applying the Label?
No - peeling back only a small starting section first gives you room to correct the label's position before it's fully committed to the bottle.
How Do I Fix a Bubble After the Label Is Already On?
Smooth the bubble outward toward the nearest edge of the label rather than pressing straight down on it, which usually just relocates the trapped air instead of releasing it.
Does the Bottle Need to Be Perfectly Dry Before Labeling?
Yes - any residual moisture or oil on the surface prevents the adhesive from bonding evenly, which is one of the most common causes of labels lifting or bubbling later.
Can I Design a Custom Label Sized for My Specific Bottle?
Yes, our custom label form lets you design and order labels sized to your exact bottle in a few simple steps.
Related Packaging Information
- Custom Label Material Options
- Label Design Tips
- Label Artwork Guidelines
- Label Specifications & Information
- Top 5 Reasons to Design Custom Labels for Your Containers
Why Businesses Choose SKS Bottle & Packaging
SKS Bottle & Packaging makes it easy to order bottles, jars, and packaging supplies online. From fast shipping to flexible savings programs, our goal is to help businesses of all sizes source reliable packaging with a smooth and efficient ordering experience.
Chat with Us